Easing functions for games: which one to use, with a live cheat sheet
Ease-out, ease-in-out, overshoot, bounce and anticipation, each shown side by side with linear motion, plus a live cheat sheet of all 31 standard easings and when to use them.
What we asked“Make a web page that demonstrates easing functions one at a time, so anyone can see and feel each one within a few seconds. For each one, show the same short moment side by side: without it on the left, with it on the right, playing in a loop, with a caption that says what just happened and a replay button. Where it helps, let me play the moment myself. It will sit inside a blog post about 720 pixels wide, so it has to look good at that width and on a phone. Also make each one viewable alone with ?trick=<id>&solo, using these ids: ease-out, ease-in-out, overshoot, bounce-elastic, anticipation. Also add a cheat sheet section with every common easing function as a small live preview and its name, viewable alone with ?cheatsheet&solo.”
What happened
- Loaded the easing skill
- Put every easing and duration in one settings object, with a without and a with setting for each kind of motion
- Built five moments you can tap: a coin flying to the score, a platform, a reward button, a crate and a level-up banner, and a dash
- Added faint marks at each tenth of the time, so bunched marks read as slow and spread-out marks as fast
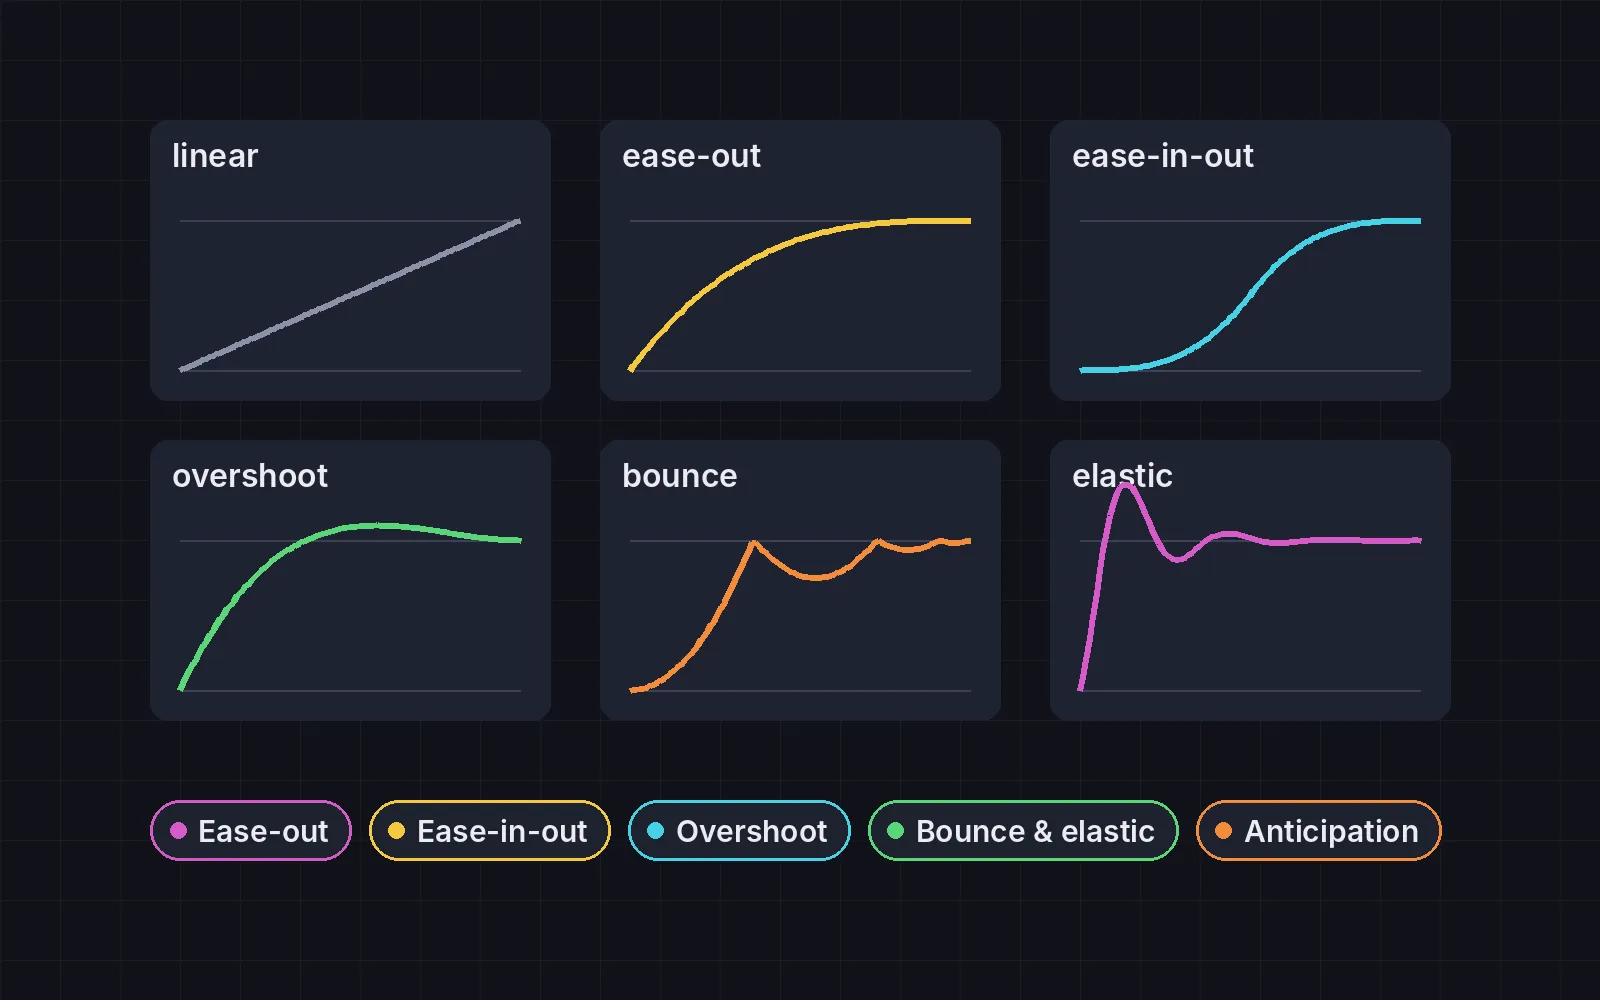
- Built a cheat sheet of all 31 standard easings, each with a live curve and a moving dot
- Kept UI motions between 0.25 and 0.35 s
Nothing in the real world starts or stops instantly. Animators call it “slow in and slow out”, one of Disney’s twelve principles of animation. In code, it’s an easing function: a curve that turns “40% of the time has passed” into “the object has moved 78% of the way”. Robert Penner’s easing equations are the set nearly every library uses; Qt, for example, credits them in its own easing code (Qt docs). Picking the right one is most of the difference between UI that feels cheap and UI that feels good. Each demo below shows linear motion on the left and the eased version on the right. Tap either stage to play it yourself.
1. Ease-out: for things arriving
Start fast, slow down at the end. It’s the right default for anything that reacts to the player, like a menu opening or a coin flying to the score, because it responds instantly and then settles.
2. Ease-in-out: for moving between two places
Slow start, fast middle, slow end. Use it for things that move on their own from one resting place to another: a camera pan, a moving platform. Not for UI the player just clicked, where the slow start feels laggy.
3. Overshoot: for buttons, pop-ups and rewards
Go a little past the target and settle back. That small spring is what makes a pop-up feel like a reward. Keep the overshoot to about 10%.
4. Bounce and elastic: for playful moments
Bounce for things that land, elastic for things that wobble into place. Both are fun once and tiring the tenth time, so save them for moments that should feel special. Use the switch to see each one.
5. Anticipation: before big actions
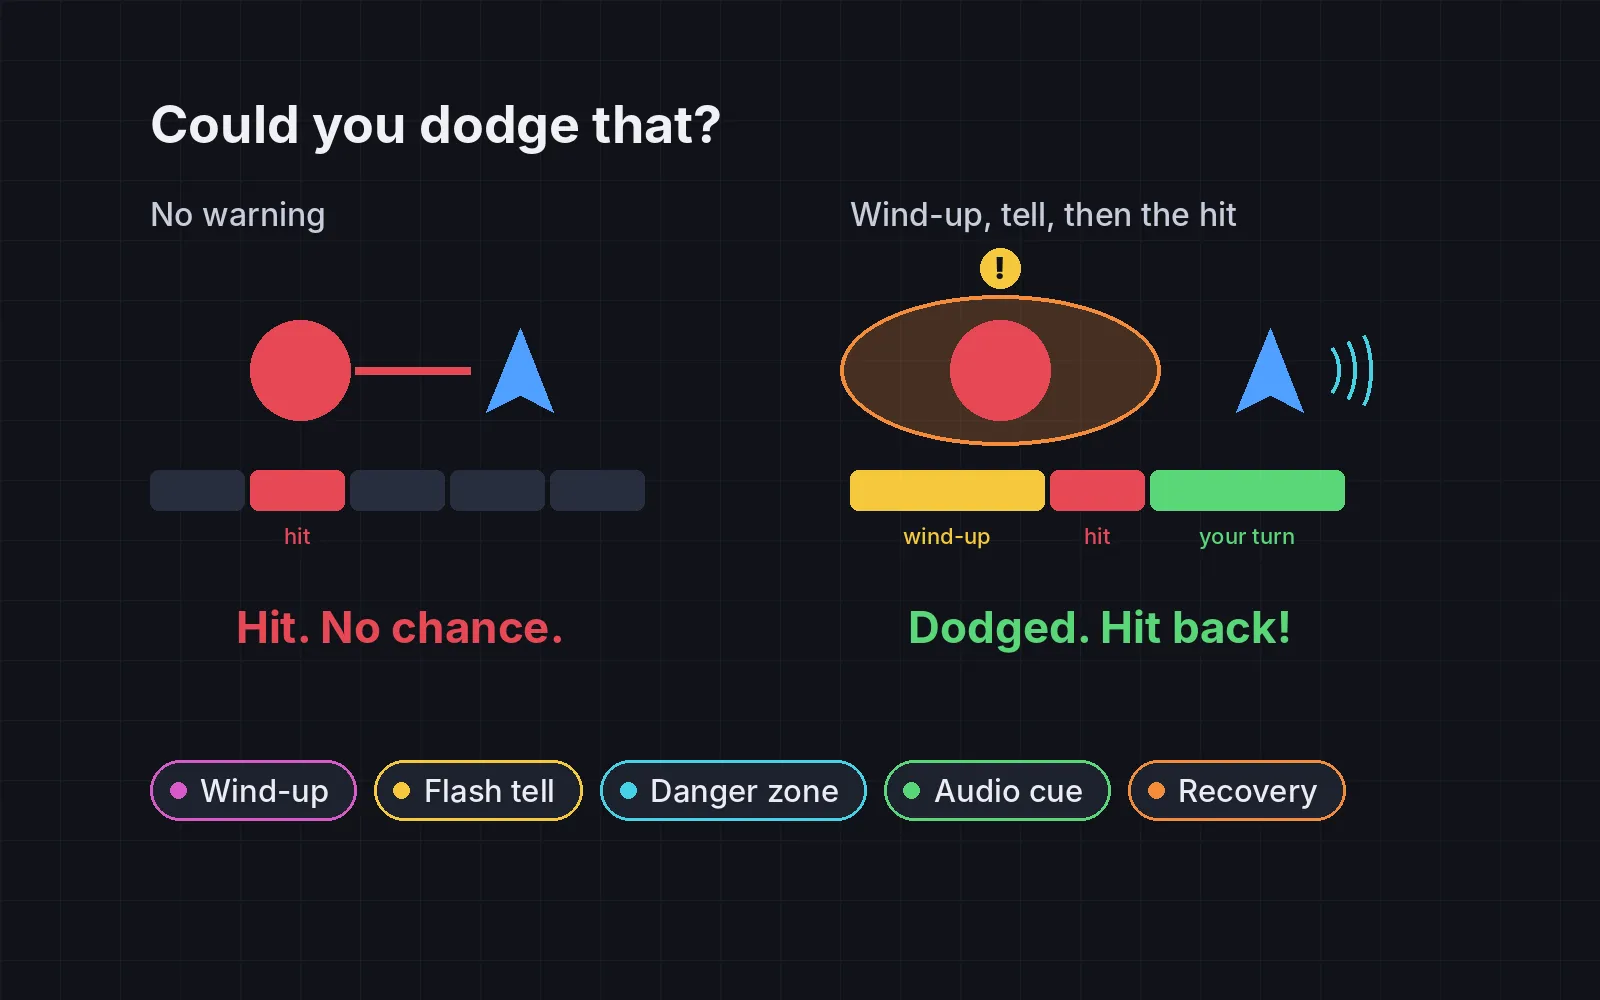
Move a little the opposite way first. It’s another of Disney’s twelve principles, and it tells the eye a big move is coming. Here the runner leans back for 0.11 s before a 0.25 s dash. Keep it short in games, because players feel any delay between pressing a button and the action.
The cheat sheet
All 31 standard easings, live. The curve is progress over time; the dot on the right is the thing that moves.
Rules of thumb
- Default to ease-out (cubic or quart). It’s right for most UI.
- Keep it short: about 0.15 to 0.3 s for UI. Longer only for big moments.
- Never make players wait for an animation before they can act again.
- Linear has its place: progress bars, spinners, and things moving at a steady speed.
Add it to your game
- Copy the skill at the end of this page into your project.
- Ask your agent: “My UI and movement feel robotic. Add easing.”
- Play it, then tune in plain words: “The menu opens too slowly.”
The skill that made it work
This is the whole skill we gave Claude Code. Copy it into your project and ask your agent to add easing. It puts every motion's easing and duration in one place, so you can compare each one with linear.
- Find every movement that goes from A to B over time: menus sliding, buttons scaling, cameras panning, pickups flying to the score, doors opening.
- Put the easing choice behind one named switch per kind of motion in a single settings object, so each can be compared with linear.
- ease-out. For things arriving or reacting to the player (a menu opening, a pickup flying to the counter): start fast and slow down at the end (cubic or quart ease-out). This is the right default for most UI.
- ease-in-out. For things moving between two resting places on their own (a camera pan, a platform): slow start, fast middle, slow end.
- overshoot. For pop-ups, buttons and rewards: go a little past the target and settle back (back ease-out), so it feels springy.
- bounce-elastic. Use bounce for things that land and elastic for wobbly, playful things, sparingly, for moments that should feel fun.
- anticipation. Before a big action (a jump, a dash, a card being played), move a little the opposite way first, for a few frames.
- Keep durations short: about 0.15 to 0.3 s for UI, longer only for big moments. Never make the player wait for an animation to finish before they can act.
- Measure it. For every eased motion, report its easing and duration, and check that none blocks input longer than about 0.3 s.
Save it as .claude/skills/easing/SKILL.md in your project. Or connect your agent and type /aigamedev: it loads this skill with its reference files and the results from this post.