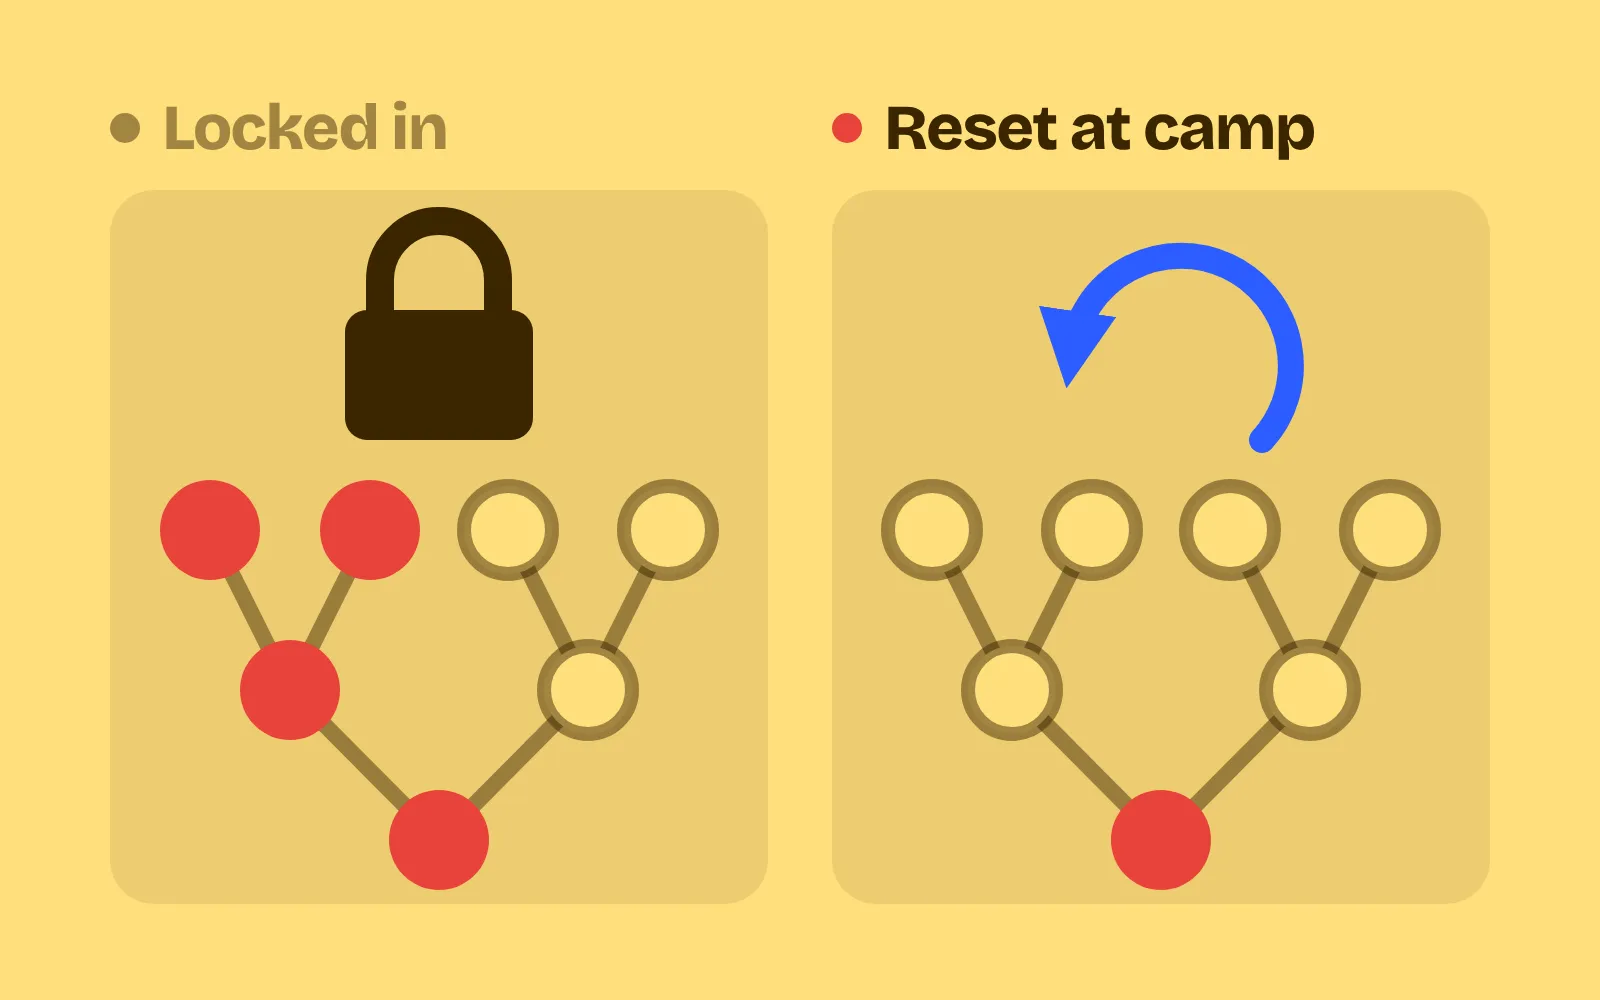
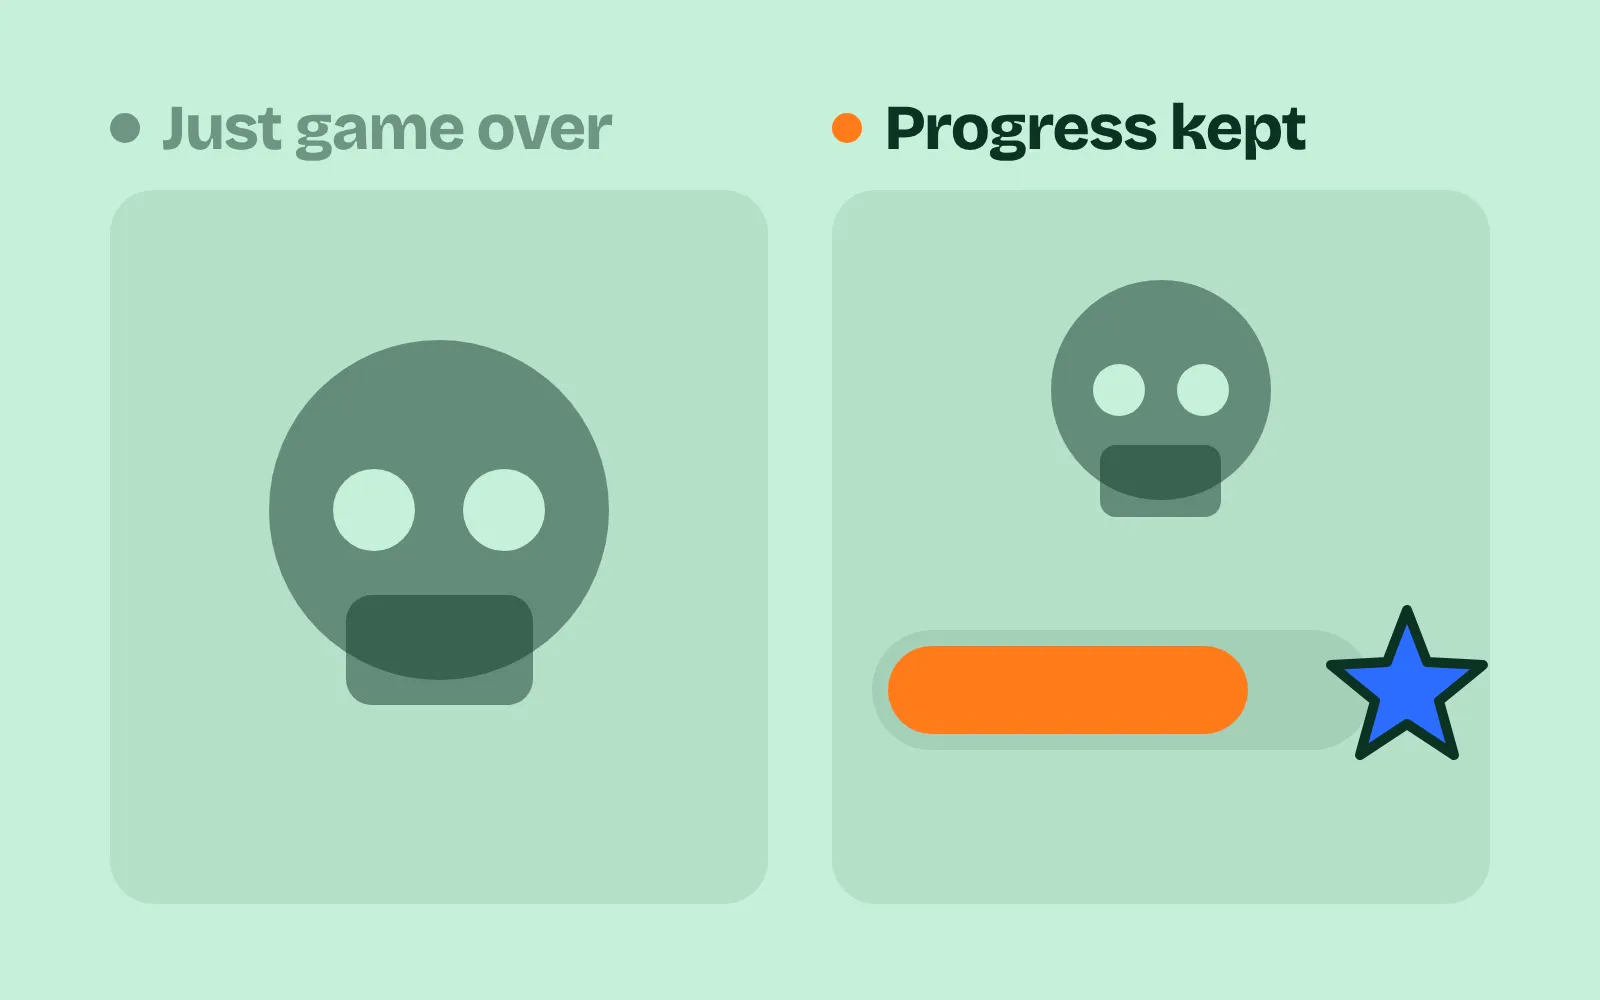
Why players get lost in your levels: wayfinding in games with landmarks, an auto-map and three more tricks
Five wayfinding tricks side by side: a clear main path, a landmark seen from afar, colour zones, a map that fills in as you explore and a reward at every branch end.
What we asked“Make a web page that demonstrates the five wayfinding tricks that stop players getting lost one at a time, so anyone can see and feel each one within a few seconds. For each one, show the same short moment side by side: without it on the left, with it on the right, playing in a loop, with a caption that says what just happened and a replay button. Where it helps, let me play the moment myself. It will sit inside a blog post about 720 pixels wide, so it has to look good at that width and on a phone. Also make each one viewable alone with ?trick=<id>&solo, using these ids: main-path, landmark, color-zones, auto-map, branch-reward. Use one small top-down level for all five, with the same little explorer heading for the same goal, and the left side wandering or doubling back because only that one trick is missing. Use the internet freely for better results: free CC0 art, fonts or small libraries (for example Kenney's CC0 assets) are welcome; download anything you use into this folder so the page works without outside links, and list each item with its licence and source in CREDITS.md.”
What happened
- Loaded the level-navigation skill
- Downloaded Kenney's CC0 Tiny Dungeon art from the OpenGameArt mirror, because Kenney's own site hides the download
- Wrote the level and a simulation of both explorers first, to check the timings before drawing anything
- Built the renderer, the page and a play mode with arrow keys, WASD or a held finger
- Made the fog darker and toned down a torch glow that looked too neon
- Checked all five loops at 720 px and on a 390 px phone with no console errors, and played one side with the arrow keys from the start to the chest
Players get lost when every corridor looks the same and nothing tells them which way the goal is. They walk into a dead end, come back, and can’t remember whether they’ve already tried the next door. Kevin Lynch found that people read a city through paths, districts and landmarks (The Image of the City), and players read levels the same way.
Each demo below runs the same small dungeon twice: five rooms, two dead ends and one loop, with the same explorer heading for the same chest. The left side has every trick on except one; the right side has all five. White dots mark tiles walked once and red dots mark tiles walked again, so you can see the doubling back. A timer above each side shows the time and the seconds “lost” (time beyond the shortest route). Play without it and Play with it let you walk the level yourself with the arrow keys, WASD or a finger on a phone. The fog gets almost black while you play, so you feel how much the trick is doing.
1. A clear main path
Give the level a spine. Make the main route wider than the side paths (about 1.5 to 2 times), brighter, or in one accent colour that no side path uses, and make every branch lead back to it. Mirror’s Edge Catalyst colours the objects on the route red so players know where to go next: “Follow the Red” (EA). In our demo, the left explorer reaches a hall with four exits of the same width and tries them one by one: 12.5 s, 9.1 s of it lost. On the right, a wide red route goes straight through the hall: 3.9 s, 0.4 s lost.
2. A landmark seen from afar
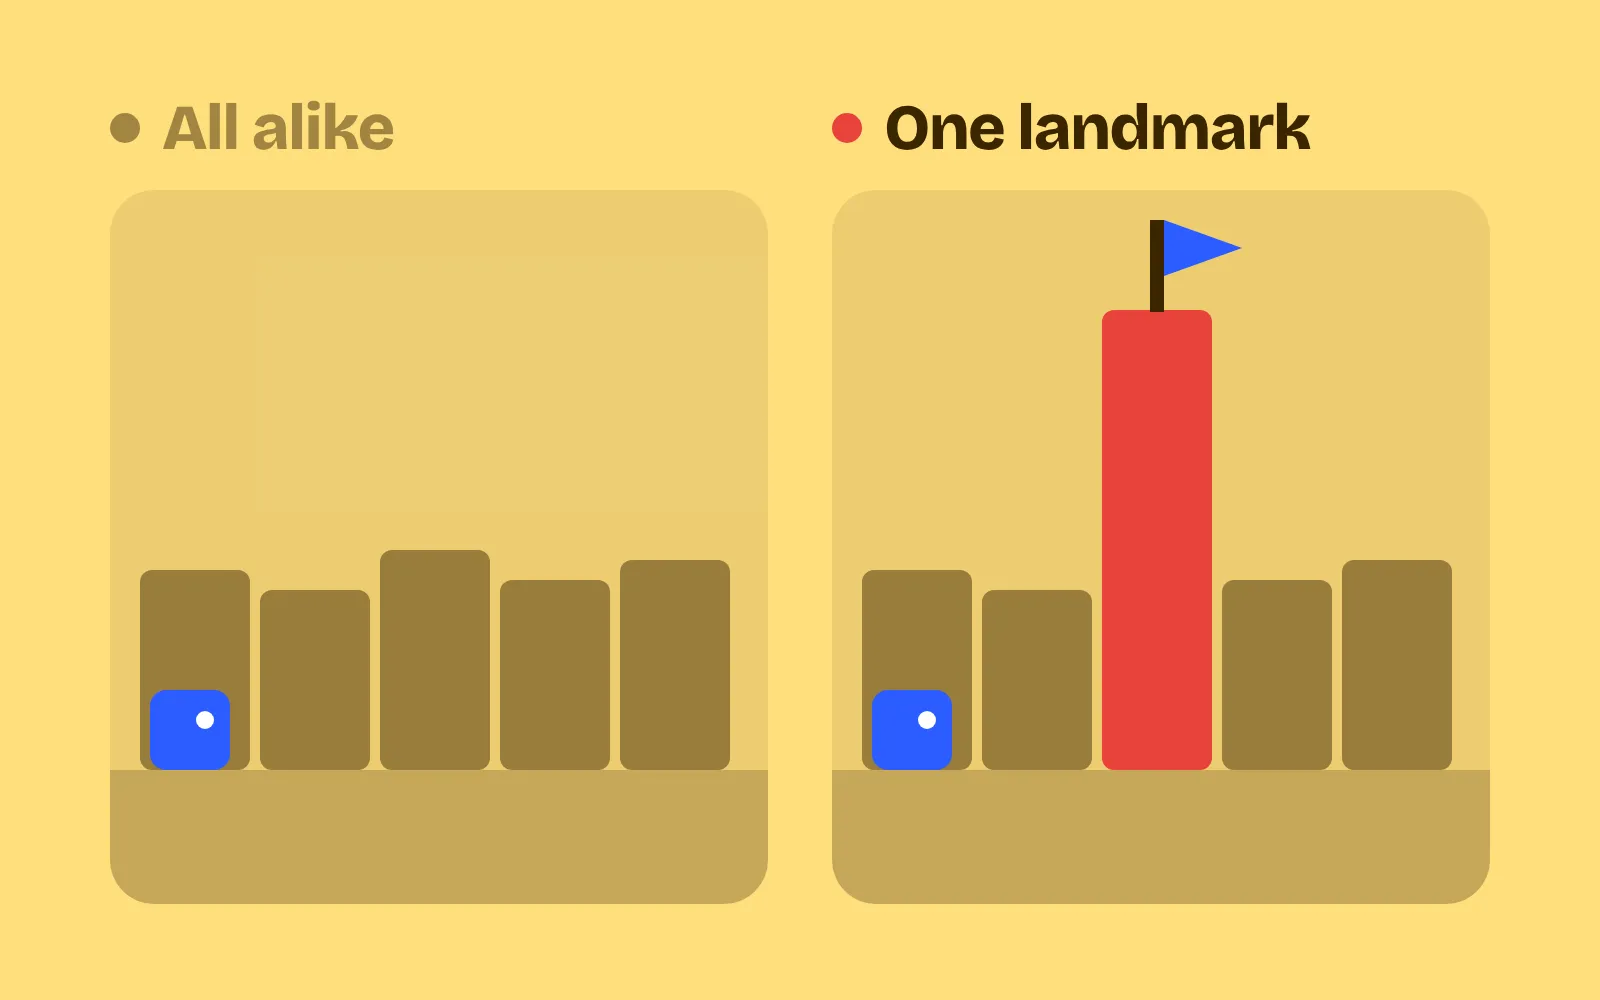
Put one tall, unique thing near the goal that shows over the walls from most of the level. Walt Disney called this a “wienie”, something that pulls visitors down the street; game developer Stephen Clarke-Willson applies the idea to levels, with Death Mountain in Ocarina of Time as an example, and adds: “when you’re stuck for an idea for a wienie, try a tall pointy thing” (above-the-garage.com). In our demo it’s a glowing tower behind the chest, drawn over the fog. Without it, the explorer finds the chest by trying every door (about 10.5 s, 7 s lost). With it, the explorer keeps the tower in sight and ignores the side doors (4.0 s, 0.5 s lost).
3. Colour zones
Give each area its own floor colour, light and props, so players can name where they are: “the blue crypt”. No two neighbouring rooms should share a palette. Lynch calls these areas districts: parts of a city with “common identifying characteristics” (Wikipedia). In our demo, every room on the left is the same sand floor with the same barrels, so the explorer walks a full circle back to the start without noticing (9.5 s, 6.0 s lost). On the right, the rooms are Sand Hall, Moss Hall, Blue Crypt, Red Forge and Violet Vault, and the explorer sees that the sandy start is behind it (4.6 s, 1.2 s lost).
4. A map that fills itself in
Keep a small map that draws only what the player has seen, and marks the player, the goal and every exit not walked through yet (a ”?” works). Doom’s automap “shows all walls the player has seen since entering the level” (Doom Wiki). In our demo the minimap sits over a block of wall in the top corner. Without it, the explorer can’t tell which doors it already checked and walks into the same dead end twice (12.2 s, 8.8 s lost). With it, finished rooms are marked done and the explorer goes to the marked goal (6.6 s, 3.2 s lost).
5. A reward at every branch end
Put something at the end of every side path: a pickup, a view or a shortcut. An empty dead end feels like a mistake, and it makes players wonder what they missed. Celeste’s chapters have branching paths that lead to optional challenges and hidden strawberries (Wikipedia). In our demo there’s a potion at every dead end on the right. On the left the explorer finds empty rooms, starts to doubt every door and searches longer (10.7 s, 7.3 s lost, against 6.9 s and 3.5 s lost on the right).
Measure the time lost
The tricks work together, and too much of any one of them flattens the level. Some rules for tuning:
- Count seconds lost, not just total time: seconds spent walking tiles you’ve already walked without getting closer to the goal. Have a bot or a tester go from start to goal with each trick off and on.
- Empty dead ends should be zero. If a branch has nothing worth putting at the end, cut it or loop it back to the main path.
- Keep side paths optional, not invisible. If the main path is so loud that nobody ever opens a side door, make it a little quieter. Exploring should be a choice, not a mistake.
- Ask testers two questions: “Where are you?” and “Point to the goal.” With the tricks on, both answers should be right more often.
If players still get lost in the first minute, the problem is often teaching, not the map. See game tutorials without text.
Add it to your game
- Copy the skill at the end of this page into your project.
- Ask your agent: “Players get lost in my levels. Fix the wayfinding.”
- Play it, then tune in plain words: “The red path is too loud, nobody tries the side rooms.”
Art in the demos: Tiny Dungeon by Kenney (CC0).
The skill that made it work
This is the whole skill we gave Claude Code. Copy it into your project and ask your agent to stop players getting lost. Every trick sits behind its own switch, and the last step makes it count the seconds players spend lost.
- Find the space: start, goal, the main route, every side branch and dead end, and what the player can see from each spot.
- Put every trick behind one named switch in a single settings object, all on by default, so each can be tested on its own.
- main-path. Give the level a spine. Make the main route wider (about 1.5 to 2 times a side path), brighter or a single accent colour that side paths don't use, and make every branch return to the spine or end in a short loop back. Mirror's Edge Catalyst marks the route with red objects: "Follow the Red".
- landmark. Place one tall, unique thing near the goal or the hub that can be seen from most of the level, and keep it in view along the main route. Disney calls this a "wienie"; if stuck, use a tall pointy thing.
- color-zones. Give each area its own floor colour, light tint and prop type, so players can name where they are ("the blue cave"). No two neighbouring zones share a palette. Repeated rooms get at least one set piece each.
- auto-map. Keep a map that draws only what the player has seen, marks the goal, the player, and every exit not yet walked through (a small "?" or open door). Doom's automap shows "all walls the player has seen".
- branch-reward. Put something at the end of every branch (a pickup, a view, a shortcut) and small pickups every few seconds along long paths. Celeste's side paths lead to optional challenges and strawberries.
- Measure it. Have a bot or tester go from start to goal with tricks on and off. Count seconds lost (walking visited tiles without getting closer to the goal) and empty dead ends (should be zero). Ask testers to name their current area and point to the goal: both should be right more often with tricks on.
Save it as .claude/skills/level-navigation/SKILL.md in your project. Or connect your agent and type /aigamedev: it loads this skill with its reference files and the results from this post.